How to take pictures of the northern lights
If you want to photograph the Northern Lights, here is a detailed guide to help you get the best shots.

Capturing the breathtaking beauty of the Northern Lights is a dream for many photographers. These vibrant displays of light dancing across the polar sky are a natural phenomenon that can vary in intensity and color, offering unique challenges and incredible opportunities for stunning photos.
To get the best conditions for pictures of the northern lights - I would recommend you to book a boat tour in the Nuuk fjord.
1. Choose the Right Location
To photograph the Northern Lights, you need to be in a location with clear, dark skies away from light pollution. The best places to see the Northern Lights are close to the Arctic Circle, such as Greenland.
The ideal time for Northern Lights photography is during the winter months, typically from late September to early April, when the nights are longest and the skies are darkest.
2. Check the Aurora Forecast
The Northern Lights are a natural phenomenon influenced by solar activity, and their visibility can fluctuate. Before you head out to take photos, it’s important to check aurora forecasts.
Websites and apps like the Aurora Watch Aurora Watch or Space Weather Prediction Center provide real-time data on aurora activity, cloud cover, and other environmental factors.
You can download these apps:
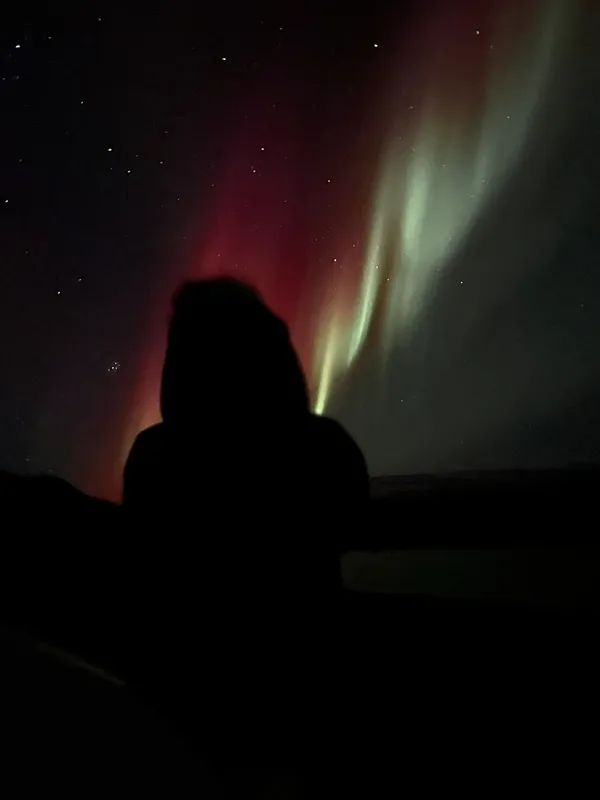
Before I go into more detail about photography I just want to make it clear - that an Iphone is capable of catching northern ligths as well. For example these pictures are taken with an iPhone 12:
3. Gear Up for Night Photography
When photographing the Northern Lights, your camera gear plays a crucial role.
Here’s a list of essential equipment:
Camera: A DSLR or mirrorless camera with manual controls is ideal. These cameras allow you to adjust settings such as shutter speed, aperture, and ISO, which are necessary for low-light photography.
Lens: A wide-angle lens with a large aperture (f/2.8 or wider) is best for capturing as much of the Northern Lights as possible. Lenses with focal lengths between 14mm and 24mm are often preferred for landscape shots.
Tripod: A sturdy tripod is essential to keep your camera still during long exposure shots. The Northern Lights can appear faint, and long exposure times (up to several seconds) are often needed, making a tripod indispensable.
Remote Shutter Release or Timer: To avoid camera shake when pressing the shutter button, use a remote shutter release or the timer function on your camera.
4. Set Your Camera for Night Photography
When taking pictures of the Northern Lights, you’ll need to adjust several camera settings for the best results. Here are the recommended settings:
Aperture: Use a wide aperture (f/2.8, f/3.5, or the widest your lens allows). A wide aperture allows more light into the camera, which is crucial for capturing the faint glow of the aurora.
Shutter Speed: The right shutter speed depends on the intensity and movement of the Northern Lights. Start with a shutter speed of around 10-20 seconds. If the aurora is moving quickly, you may want to use a shorter exposure (e.g., 5-10 seconds) to avoid blurring.
ISO: Set your ISO between 800 and 1600. This range provides a good balance between sensitivity to light and noise reduction. Higher ISO values may introduce grain or noise, but if the lights are weak, you might need to increase it.
White Balance: Set your white balance to manual and experiment with settings to achieve the natural colors of the Northern Lights. Starting at 3,000-4,000K is usually a good baseline.
Tip: If you’re new to night photography, experiment with different settings and take test shots to see how they look. Reviewing the images on your camera’s screen will allow you to adjust settings as necessary.
5. Focus Your Camera
Focusing in low-light conditions can be tricky. Use these techniques to ensure your shots are sharp:
Manual Focus: Autofocus is unreliable in low light, so it’s best to switch your lens to manual focus (MF) mode.
Use a Flashlight: Shine a flashlight on a distant object, such as a tree or a rock, to help you focus the lens. Once the focus is set, turn off the flashlight to avoid ruining the shot.
Infinity Focus: Many photographers use the "infinity" focus setting on their lens. This allows you to focus on distant stars or objects. However, check your focus by zooming in on a star or bright light to ensure it’s sharp.
6. Compose Your Shot
While the Northern Lights are mesmerizing, don’t forget to consider the overall composition of your photo. Including elements like snow-covered landscapes, mountains, or trees in the foreground can add depth and interest to your images. Here are some tips for a strong composition:
Rule of Thirds: Position the Northern Lights in the upper third of the frame to create a balanced composition. You can experiment with placing them higher or lower, depending on how you want to frame the scene.
Foreground Elements: Adding a foreground element, like a mountain, a lake, or a silhouette of trees, can make your shot more dynamic and give scale to the aurora.
Reflective Surfaces: If you’re near a body of water, try to capture the reflection of the lights on the surface. This can create stunning symmetrical compositions.
7. Post-Processing Your Northern Lights Photos
After capturing your photos, post-processing can help bring out the best in your images. Use photo editing software like Adobe Lightroom or Photoshop to fine-tune your shots. Some editing tips include:
Increase Contrast: The Northern Lights often look better with increased contrast, as this will make the colors pop more against the dark sky.
Adjust Exposure: If the aurora is too dim or too bright, use exposure adjustments to balance the image.
Remove Noise: Long exposures can introduce noise, particularly at higher ISO levels. Use noise reduction tools in your editing software to smooth out the image.
Capturing the Northern Lights on camera is a rewarding experience that requires preparation, patience, and practice. By selecting the right location, preparing your gear, adjusting your settings, and composing your shot thoughtfully, you can create stunning images that showcase the magical display of the aurora. Whether you're an experienced photographer or just starting, the Northern Lights will provide a memorable and awe-inspiring challenge.
Want to see more?
I have created curated maps, itineraries and more for travellers that want to travel like me.

Looking for things to do?
Go check out my guide for the best free things to do as well as itineraries and travel tips to make your trip unforgettable.